Want Seamless, Scalable Storage in Kubernetes? Here’s Why Longhorn is Your Best Bet!
If you want to set up secure and scalable data storage in Kubernetes, this article is exactly what you need! We’ll show you how to install Longhorn an

Longhorn: Scalable Storage for Kubernetes
What is Longhorn?
Imagine you're setting up a big project on Kubernetes and you need scalable storage that's both easy to use and reliable. That's where Longhorn comes in. Longhorn is a distributed storage system built specifically for Kubernetes. In simple terms, Longhorn is a cloud-based storage solution for Kubernetes that lets you easily store data in your cluster, in a distributed way, with high availability..
Longhorn Structure
Longhorn uses a distributed structure with a few main components:
Controller: Manages the cluster's state and coordinates between nodes.
Replica: Stores copies of data. These replicas are spread across different nodes in the cluster.
Engine: Processes requests and reads/writes data from various nodes.
Driver: The main interface for interacting with other storage systems.
This structure allows you to distribute data across multiple nodes, providing scalability, reliability, and high performance within Kubernetes.
Why Should You Use Longhorn?
When you're working with Kubernetes, one of the biggest challenges is data storage. Most traditional storage systems aren’t optimized for Kubernetes and come with problems like poor scalability, slow performance, and complex management.
But Longhorn solves these problems:
High Scalability: Longhorn can easily scale by adding new nodes, increasing your storage capacity.
High Availability (HA): If one of your nodes goes down, Longhorn can load the data from other nodes, so there's no problem.
Easy Setup: Longhorn is designed for Kubernetes, so installation is simple and fast.
If you're looking for a storage system with these features for your projects, Longhorn is one of the best options.

Pre-requisites for Installing Longhorn
Before installing Longhorn on Kubernetes, make sure the following pre-requisites are installed on your cluster nodes. These tools will help Longhorn manage disks and storage resources properly.
1. open-iscsi
Longhorn needs open-iscsi to connect to disks and storage resources. Install it like this:
sudo apt-get update
sudo apt-get install -y open-iscsi
sudo systemctl enable --now iscsid
2. nfs-common
For NFSv4 support and to share data between nodes, you need nfs-common:
sudo apt-get update
sudo apt-get install -y nfs-common
3. cryptsetup
If you want to encrypt disks, install cryptsetup:
sudo apt-get update
sudo apt-get install -y cryptsetup
4. device-mapper-persistent-data
To use LVM for disk management, install device-mapper-persistent-data:
sudo apt-get update
sudo apt-get install -y device-mapper-persistent-data
5. System Utilities
For managing the system and running various commands, you need utilities like bash, curl, findmnt, grep, etc.:
sudo apt-get update
sudo apt-get install -y bash curl findmnt grep awk blkid lsblk
Checking Prerequisites with longhornctl Script
When you want to install Longhorn on Kubernetes, you need to make sure all the necessary prerequisites are installed correctly. To make this easy, you can use the longhornctl script, which checks the status of your pre-requisites and tells you if everything's good or if something's missing.
Installing longhornctl
First, you need to download longhornctl, which acts like a checker that verifies if the required pre-requisites are in place.
To install longhornctl on your system, run:
curl -sSfL -o longhornctl https://github.com/longhorn/cli/releases/download/v1.10.0/longhornctl-linux-amd64
chmod +x longhornctl
Checking Prerequisites with longhornctl
Now that you've installed longhornctl, you can easily use it to check if the prerequisites for Longhorn are installed properly.
Just run this command:
./longhornctl check preflight
This will automatically check if things like open-iscsi, nfs-common, cryptsetup, and other needed tools are installed and running.
How Will the Script Output Look?
If everything is installed correctly, the output will look something like this:
Checking prerequisites...
- [PASS] open-iscsi: Installed and running
- [PASS] nfs-common: Installed
- [PASS] cryptsetup: Installed
- [PASS] device-mapper-persistent-data: Installed
But if any of the prerequisites are missing or not working properly, longhornctl will let you know what the problem is and what action to take.
Installing Longhorn on Kubernetes
Now that the prerequisites are installed, it's time to install Longhorn on Kubernetes.
1. Add the Helm Repository
First, add the Helm repository for Longhorn:
helm repo add longhorn https://charts.longhorn.io
helm repo update
2. Create a Namespace for Longhorn
To manage Longhorn, create a longhorn-system namespace:
kubectl create namespace longhorn-system
3. Install Longhorn Using Helm
For the first create yaml file to ensure Longhorn Replicas:
longhornUI:
  replicas: 1
Now, install Longhorn using the following command:
helm install longhorn longhorn/longhorn -n longhorn-system --values longhorn.yaml
4. Check Installation Status
To ensure Longhorn is installed correctly, check the pods:
kubectl -n longhorn-system get pods
What i did:
Why Couldn’t I Access Longhorn from Outside Without These Configurations?
When you install Longhorn, it’s basically a service running inside your Kubernetes cluster, and by default, it’s only accessible from inside the cluster. So, if you want to access the Longhorn dashboard from outside the cluster (for example, from your browser), you won’t be able to, because Kubernetes, by default, only exposes services of type ClusterIP internally.
To make services like Longhorn accessible from outside the cluster, we need either a Load Balancer or an Ingress Controller. That's where Traefik comes in.
Why Did I Use Traefik?
In Kubernetes, if we want to route external traffic into the cluster, we need an Ingress Controller. Traefik is one of the best options for this job. Here’s why I used Traefik:
Excellent Integration with Kubernetes: Traefik works natively with Kubernetes, automatically detecting and routing traffic to the right services inside the cluster.
SSL/TLS Support: Traefik can automatically redirect traffic from HTTP to HTTPS and can get SSL certificates from Let’s Encrypt without much hassle.
Auto Discovery: When a new service is added, Traefik automatically detects it, so we don’t need to manually update the configuration.
Scalability: Traefik can balance traffic between multiple instances of the same service, making it easy to scale as needed.
So, to access Longhorn from outside the cluster, I needed an Ingress Controller, and Traefik was the perfect choice for this.
Why Did I Add SSL to Traefik and Longhorn?
Now that we're accessing the Longhorn service from outside the cluster, it's important to ensure the connection is secure. This is where SSL/TLS comes in.
Why SSL?
Security: Without SSL, any data transmitted between the user and the server can be intercepted. SSL ensures that the connection is encrypted, protecting the data from Man-in-the-Middle (MITM) attacks.
Encryption: SSL ensures that communications with Longhorn and any other services inside Kubernetes are encrypted, making the connection safe.
SEO: When a site or service has SSL, search engines like Google trust it more. This gives Longhorn the security and credibility it needs.
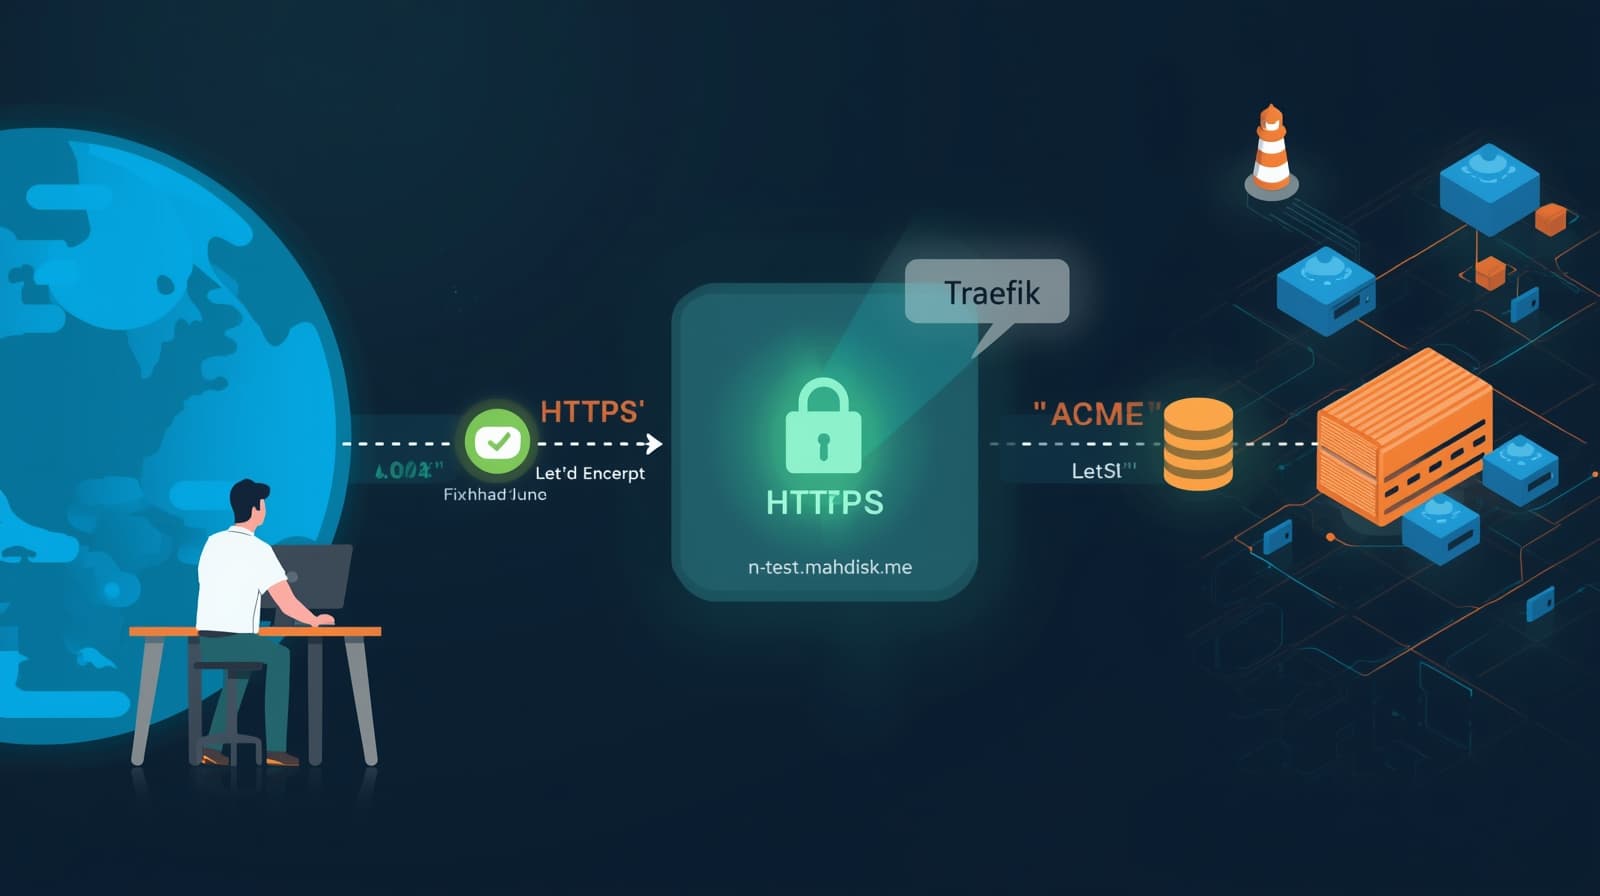
SSL with Traefik: Technical Overview
Let’s Encrypt: I used Let’s Encrypt, which automatically issues SSL certificates, making it super easy to implement secure communication without manual certificate management.
SSL Termination: With Traefik, SSL termination happens at the Traefik level, meaning SSL is handled by Traefik, and then the traffic is sent as HTTP inside the cluster. This simplifies the overall architecture and offloads SSL work from the backend services.
Why Couldn’t I Access Longhorn Without This Configuration?
When you install Longhorn, it’s a ClusterIP service by default, which means it’s only accessible within the cluster. To expose it to the outside world, you need either a LoadBalancer or an Ingress Controller like Traefik.
By default, Kubernetes only exposes services with ClusterIP type internally. So, without using Ingress or LoadBalancer, no one from outside can access your internal services like Longhorn.
How Does Traefik Solve This?
IngressRoute in Traefik allows us to route incoming traffic from outside the cluster to internal services like Longhorn.
Traefik automatically detects services and routes traffic accordingly. This means that we can access Longhorn from outside the cluster once we configure Traefik correctly.
🔧 What Makes Longhorn Accessible from Outside the Cluster?
In the end, by using Traefik as an Ingress Controller, I was able to route incoming traffic from outside the cluster to Longhorn. This made accessing the Longhorn dashboard easy and secure using SSL.
Here’s How It Worked:
I created an IngressRoute in Traefik, telling it to route traffic with the Host
longhorn.mahdishadi.meto the longhorn-frontend service inside the cluster.I set up SSL for security, ensuring all traffic is redirected from HTTP to HTTPS.
Traefik automatically fetched an SSL certificate from Let’s Encrypt.
Using HTTPS with Traefik
To make sure access to Longhorn from outside Kubernetes is secure (HTTPS), you need to use Traefik. Here's how to configure SSL and IngressRoute:
1. Configuring Traefik for HTTP → HTTPS Redirect & IngressRoute for Longhorn Access
To redirect HTTP requests to HTTPS, create a middleware called https-redirect and to configure the IngressRoute via Traefik, make sure requests go to port 80:
apiVersion: traefik.io/v1alpha1
kind: Middleware
metadata:
  name: https-redirect
  namespace: longhorn-system
spec:
  redirectScheme:
    scheme: https
    permanent: true
---
apiVersion: traefik.io/v1alpha1
kind: IngressRoute
metadata:
  name: longhorn-web-http
  namespace: longhorn-system
spec:
  entryPoints: [web]
  routes:
  - match: Host(`longhorn.mahdishadi.me`)
    kind: Rule
    middlewares:
    - name: https-redirect
    services:
    - name: longhorn-frontend
      port: 80
2. Configuring SSL with cert-manager
To get an SSL certificate from Let’s Encrypt, configure a ClusterIssuer:
apiVersion: cert-manager.io/v1
kind: ClusterIssuer
metadata:
  name: letsencrypt-http01
spec:
  acme:
    email: mahdishadi99@gmail.com
    server: https://acme-v02.api.letsencrypt.org/directory
    privateKeySecretRef:
      name: letsencrypt-account-key
    solvers:
    - http01:
        ingress:
          class: traefik
At the end, you can see the UI on the web browser.

Explain What PV, PVC, and StorageClass about:
When real-world apps are involved, “disk” is no joke. That’s why Kubernetes supports multiple storage models—block, file, and object—whether you’re on the cloud or in your own data center.
What Are the Plugin Layer and CSI?
There’s a plugin layer in the middle that brokers between Kubernetes and external storage systems. Modern plugins speak Container Storage Interface (CSI)—an open standard that lets storage drivers behave consistently across orchestration platforms like K8s.

The Core Trio: PV, PVC, and StorageClass
PersistentVolume (PV): The in-cluster handle (representation) of an external volume.
PersistentVolumeClaim (PVC): A pod’s request to use a PV.
StorageClass (SC): The “plan/tier” definition that automates creating PVs and backend volumes.
In plain English: PV is the map to the external volume, PVC is the permission slip to use it, and SC makes the whole thing dynamic and automatic.
A Step-by-Step Scenario (Longhorn – 50GB)
A Pod needs 50GB ⇒ it creates a PVC.
The PVC asks the StorageClass to create a new PV + backend volume.
The SC calls the Longhorn backend via the Longhorn CSI driver.
The CSI driver creates a 50GB volume on Longhorn .
CSI reports the external volume is ready.
The SC creates a PV and maps it to that Longhorn volume.
The Pod mounts the PV and starts using it.
Safety note: K8s prevents multiple pods from writing to the same PV willy-nilly. Also, PVs have a 1:1 relationship with external volumes; you can’t split a single 50GB volume into two 25GB PVs.
How Do Providers/Provisioners Get Added?
Each storage provider usually ships a CSI driver via Helm or a YAML installer. After installation, the driver’s pods run in the kube-system namespace and are ready to serve.
The Persistent Volume Subsystem in Practice
Say your external storage exposes these tiers:
Fast block (flash)
Fast encrypted block (flash)
Slow block (mechanical)
File (NFS)
You create one StorageClass per tier so apps can request exactly what they need. If a new app requires 100GB of encrypted flash, define a PVC in your Pod’s YAML that asks the sc-fast-encrypted class for 100GB.
When you apply the manifest, the SC controller notices the new PVC and tells the CSI driver to provision 100GB of encrypted flash. The external system creates the volume and reports back; CSI informs the SC controller, which maps it to a new PV. The PVC then binds to that PV, and your Pod mounts it.
Handy YAML Tips
apiVersionandkinddeclare the object’s type and API version.metadata.nameis a friendly identifier.In a StorageClass, the
provisionerfield selects the CSI driver.StorageClasses are immutable; if you misconfigure one, create a new one.
People often use provisioner / plugin / driver interchangeably.
The
parametersblock is driver-specific (varies per CSI).
Access Modes (How a Volume Can Be Used)
Kubernetes supports three:
ReadWriteOnce (RWO): One PVC can mount R/W (often from a single node).
ReadWriteMany (RWX): Multiple PVCs can mount R/W (typically file/object like NFS; block rarely supports this).
ReadOnlyMany (ROX): Multiple PVCs can mount read-only.
A PV can be opened in only one mode at a time; you can’t mount the same PV as ROX for one PVC and RWX for another simultaneously.
Reclaim Policy (What Happens When the PVC Is Deleted?)
Delete (default for dynamically created PVs): deleting the PVC deletes the PV and the external volume. Risky if you lack backups!
Retain: keeps the PV and external volume after the PVC is deleted—you’ll clean things up manually. Safer.
VolumeBindingMode & Topology (WaitForFirstConsumer)
If you set volumeBindingMode: WaitForFirstConsumer in your StorageClass, the system waits to create the volume until a real Pod that uses the PVC is scheduled. The result? The volume is provisioned in the same region/zone as the Pod—avoiding cross-zone/region latency and costs.
Alright—let’s wire Longhorn up to your Pods’ PVCs once and for all. You can drop this straight into your article—the tone’s casual, and the YAML is copy-paste ready 👇
Create a PVC with Longhorn
1) Prereq: Longhorn should be up and healthy
First, make sure Longhorn is installed and its Pods are healthy:
kubectl -n longhorn-system get pods
If everything is Running, move on. If not, fix Longhorn first, then come back.
2) Create a StorageClass (if you don’t have one)
Longhorn usually ships a default StorageClass named longhorn. If you want custom settings (like replica count), create one like this:
apiVersion: storage.k8s.io/v1
kind: StorageClass
metadata:
  name: longhorn-sc
provisioner: driver.longhorn.io
allowVolumeExpansion: true   # so you can grow the volume later
reclaimPolicy: Delete        # delete PV when PVC is deleted (tweak as needed)
parameters:
  numberOfReplicas: "3"      # how many copies across nodes
  staleReplicaTimeout: "30"  # minutes; remove slow/stale replicas
  fsType: "ext4"             # filesystem on the volume
Apply it:
kubectl apply -f longhorn-sc.yaml
3) Create the PersistentVolumeClaim (PVC)
Time to request some space. This example asks for 10Gi with RWO:
apiVersion: v1
kind: PersistentVolumeClaim
metadata:
  name: my-pvc
spec:
  accessModes:
    - ReadWriteOnce            # single-node access; fits most apps
  resources:
    requests:
      storage: 10Gi
  storageClassName: longhorn-sc  # or use 'longhorn' if you want the default
Apply it and check:
kubectl apply -f my-pvc.yaml
kubectl get pvc my-pvc
If STATUS is Bound, your volume is ready.
Now attach that storage to your container.
5) Handy tips that matter
RWO vs RWX: RWO works for most cases. For multi-node sharing (RWX), use Longhorn’s Share Manager (you’ll need an RWX-capable StorageClass).
Expanding size: With
allowVolumeExpansion: true, you can grow a PVC later (shrinking isn’t supported). Some apps may need a restart to see the new size.Troubleshooting
Pending:Run
kubectl describe pvc my-pvcto see what’s blocking.Check node/disk capacity.
Inspect Longhorn components:
kubectl -n longhorn-system get podsand look at the Longhorn Manager/CSI logs.
Replicas: More replicas = better resilience to node failure, but higher disk usage. Three is a safe bet.
6) Overview
Longhorn healthy? ✔️
Create (or use) a StorageClass (
longhornor your custom one) ✔️Define a PVC and mount it in your Pod ✔️
If it’s
Pending, describe the PVC and check logs ✔️